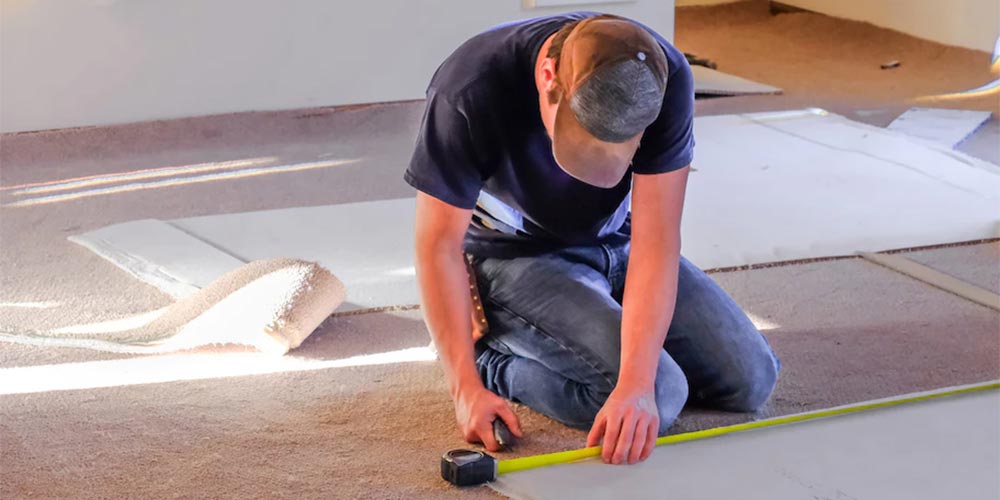
If you want to save cash during a room renovation, a good idea is to do some of the work yourself.
One of those jobs might include removing and disposing of your old carpet. You might even want to take that one step further and actually fit your own carpet.
Well in this post, Underlay 4 U are helping you get started with that. They’re giving you a few tips to make sure you get it right first time.
Let’s start with removal of the old.
Tips when removing your own carpet and underlay
Removing any flooring in your home can feel like a mammoth task the first time you stand in the door way and look down. But if you take things task-by-task, it doesn’t have to be like that.
Tip 1: Remove the carpet first, then the underlay
The key here is don’t try to remove both at the same time.
If you try to do both, it will just be a mammoth job and you’ll struggle to move anything.
So take it piece by piece. Get rid of the carpet first, then get rid of the underlay
Tip 2: Cut the carpet and underlay into strips
Cutting the flooring down in to strips across the room will make it massively easier to carry out of the room.
Work your way across the shortest side of the room cutting every 2 metres down. Once it’s been cut, it needs rolling up and taking out of the room.
Tip 4: Be careful when removing the gripper rods
It’s a good idea to replace any old gripper rods because these will have been fit based on the old carpet and hopefully you’re upgrading that.
However, gripper rods can be super sharp, so just make sure you have the right gloves when removing them.
Tip 5: Use the right tools
The right tools are essential in any job. So be sure that your knife and scissors are really sharp. If they’re not, it’s worth investing in new ones.
Make sure you wear strong gloves that can withstand nails and screws.
Finally, you’ll probably need a good sized chisel and hammer to get the gripper rods off depending how they’ve been fit in the first place.
Tips when fitting your own carpet and underlay
Fitting is a bit harder than removing, but if you do your research and invest in good tools, you can do it. Here are a few things to be aware of.
Tip 7: Watch videos on how to do it properly
If you’ve never done it before you should definitely watch some step-by-step videos so you can ‘see’ everything in action. Reading articles like this one and others will help, but seeing things done in the flesh will give you an even better idea.
Tip 7: Check you have a strong carpet fitting tool
For fitting carpet, you’re going to need a special carpet fitting tool. This will allow you to successfully connect the carpet to the grippers while making sure it is tight against the wall.
It’s highly recommended to buy one of these and they’re available from most hardware stores or online flooring shops.
Tip 8: Tape the underlay down
Using double sided tape will help everything stay in place for longer. You can simply attach it to the floor then put the underlay on top of the tape and inside of the gripper rods.
Again, buy double sided tape that’s specific for carpet. It can be purchased at most hardware stores.
Tip 9: Make sure there are now ‘waves’ after laying
If you ever see a wave in a carpet you will know it’s there. It’s a kind of lump where the carpet is a bit loos and not properly against the floor or wall.
Make sure you fit the carpet really tight against the gripper rods. Also preferably fit it before the skirting board has gone down.
If you can’t do that, be sure to get the carpet right under the skirting board that’s already on the wall.
The tighter you fix it, the less likely you are to encounter ‘waves’ in the carpet over time.
Tip 11: Organise furniture from the room
Knowing where you’re going to put the furniture is key to any fitting project. Some people prefer to move everything outside and aim to get the whole job done in one day.
If you know you’re going to struggle to do it all in one day, here’s a tip. Put all the furniture on one side of the room. Pile it to the ceiling if you must.
Remove the flooring on empty side first, then move the furniture to the other side and remove the flooring on the second side of the room.
Doing this will save you time and effort of having to walk too far with all the furniture. It will also help to not overwhelm any of the other rooms in your home. Especially if you’re short of space.
So, hopefully that’s some tips to get you started. Don’t be afraid to try it yourself.
