
Doors often take the backseat when it comes to interior design and changing the look of your home, but they shouldn’t! By applying a fresh new coat of paint to your homes front doors, closet doors, or other doors, you can make a huge visual impact. For an inexpensive yet bold design change, consider painting the doors in your home.
Keep reading to learn everything you need to do to properly prep and paint doors.
Before Starting
Before you tackle a door painting project, it helps to know what’s in store. The typical door painting project takes anywhere between three to five hours, depending on the age and condition of the door along with how many doors you plan to paint. Note that after painting a door you have to factor in dry time, so in essence this will turn into a full-day project.
With that said, you obviously don’t want to paint a door you can’t live without. If you plan to paint your front door, it’s best to start early so that the door is mostly functional by the end of the day.
Before painting it’s also important to check the operation of the door. If it drags or rubs against the jamb, now is the time to fix these issues. Thorough preparation is key for a newly painted door that looks nice and operates even nicer.
Choosing Paint
Choosing paint for a door isn’t much different from choosing the right paint finish for the walls in your home. When picking a paint color, sheen is important. A flat finish will make it much harder to wipe off handprints and scuff marks. A high gloss paint is very easy to clean but will show every little flaw on the door.
When painting doors, it’s recommended to use either semi-gloss or satin. These finishes look nice and are easy to clean without showing too many design flaws.
Preparing the Doors
Properly preparing your doors is crucial for a flawless finish. Note that if your home was built before 1979, you will want to have the paint tested for lead before sanding and prepping the door.
Remove Hardware
When removing the hardware you’ll likely face paint buildup around the latches and hinges. Cut right through the paint to prevent splintering. After removing the hardware, you’ll want to remove the door entirely. Place it in a clean dry area such as a garage or basement.
Once the door has been removed, you’ll want to:
- Clean the door with a mild household cleaner to remove grease
- Clean the hardware, to include removing old paint
- Patch dents and holes using a sandable filler
After all of these steps are done, it’s time for sanding!
Sanding
Depending on the condition of your door, it may just need a light sanding using a 180 or 220 grit sanding sponge, or you may need something stronger to rub out flaws such as chipped paint. Sanding a door is important as it roughens the surface and allows the primer to adhere much better.
When sanding, it’s recommended to use a sanding block versus paper. Start with a finer grit like 120 or 150. Then switch to a coarser paper such as an 80 grit, to properly smooth problem areas. From there you’ll want to finish with a finer grit so that you can smooth out any scratches caused by the coarser paper.
Before moving onto the next step, inspect your work using low-angle lighting. This will allow you to see any unevenness or rough patches that you’ll want to fix before painting.
Setting Up Your Workspace
After all of the prepping and sanding is complete, you’ll need to clean the workspace or move to a new one. The area you choose needs to be clean and well lit. You don’t want dust or dirt ending up on the brushes that you’ll be painting with. Airborne particles can impact how smoothly the paint sticks on the door.
To properly prep your workspace:
- Conduct a thorough cleaning, to include sweeping, wiping down, and vacuuming
- Minimize air flow by closing windows, doors, and turning off the HVAC system
- Use low-angle light
- Gather all necessary tools and supplies
Priming & Painting
The next and final step is to get to painting! Priming the door first helps to better hide any flaws in the door. It also allows the new paint to stick better and creates a more uniform finish. Be sure to use a primer that’s compatible with the paint you’re using.
Carefully apply the primer and let it dry. Depending on the condition of the door, two coats may be needed. Once the primer is finished, sand it to ensure a smooth finish for the paint.
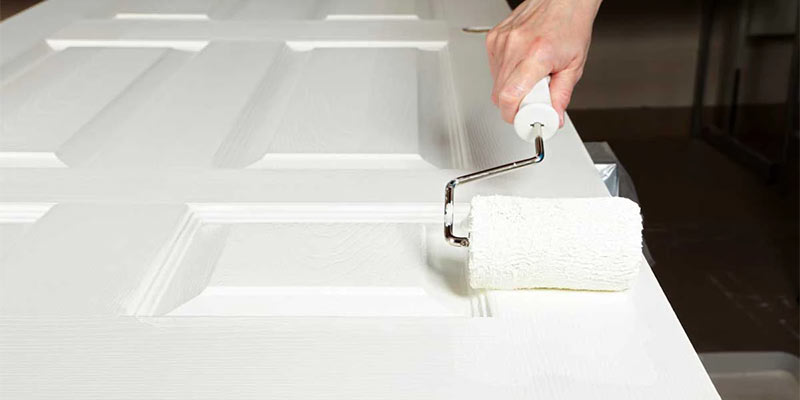
Once the priming is done you can move to painting. Use a quality brush for a smoother finish and avoid cheap roller sleeves that leave fibers behind in the finish. If you want to use a roller, be sure to pick up a quality mohair, microfiber, or foam sleeve.
Share this article