

The home is a rambunctious place. Modern developments are focused towards lightweight construction and contemporary open floor plan designs. Which are designed to look fantastic, but the broader space tends to amplify sound.
Combine that with noisy neighbours, the television, the surround sound or a multitude of other noisy headaches that accompany the hustle and bustle of the world we live in, and you may find yourself with less and less time and space to decompress after a hard day.
Your home is your haven; it’s your escape from the realities of a world that seems to move at a thousand miles per hour. Of course, if you have children, they move at a thousand miles per hour wherever they are, and commotions are just part and parcel of being a parent.
So, with everything going on around you, how on earth will you find the time you need to process and prepare for the challenges of the day ahead? In this blog we’re going to talk about how to soundproof a door so that you can make any room a sanctuary of peace and tranquillity.
What You’ll Need…
You could spend hours soundproofing a room, but if you neglect the door, everything would’ve been for nothing – doors are the weakest link in the soundproof chain. But, acoustic doors can cost thousands, so here’s all the kit you’ll need to make your own:
- Green Glue
- MDF
- Soundproof Rubber
- Door Gasket
- Automatic Door Bottom
- Acoustic Caulk
Remember: Standard doors will allow noise penetration to travel through the gaps down the sides and along the bottom of the door.
Part I: Reinforcing The Door Panel
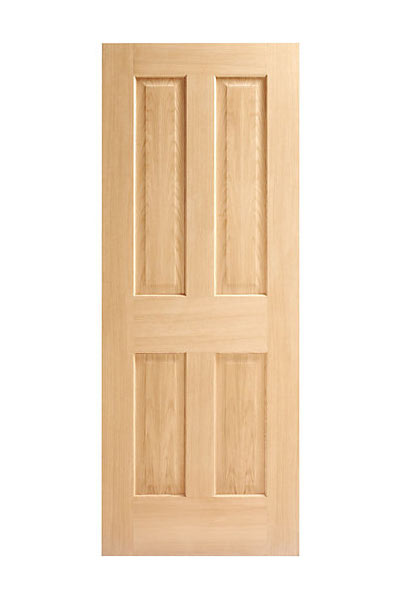
Sound waves are persistent and will make short work of a cheap, hollow door panel. You’ll need to purchase a door with the flattest possible surface and one that has a solid core. Oak doors are particularly useful for this application.
When you come to purchase your MDF, you’ll need at least one or two inches in thickness and a smooth surface, as this helps create a beautiful finish when you paint it and adds weight to the door, allowing you to apply your green noise proof glue between the layers.
The first thing to do is to drill a hole through the MDF to make room to install a doorknob. The best type is a ball and catch handle as it eliminates gaps and therefore reduces the number of sound waves escaping.
You’ll need to apply at least two tubes of the glue compound onto the back of the MDF and the door, then tightly screw it together, so the adhesive sits in between.
Remember: Green Glue is an adhesive that works by effectively dissolving the sound waves attempting to pass through the door.
Part II: Eliminating Gaps Around the Perimeter
Once you close a door, you probably do so without a second thought, but the area under the door, known as a doorstop, is a significant gap and is the doors last chance to stop sound waves.
You’ll now need to apply the soundproof rubber along the top and down the sides of the frame.
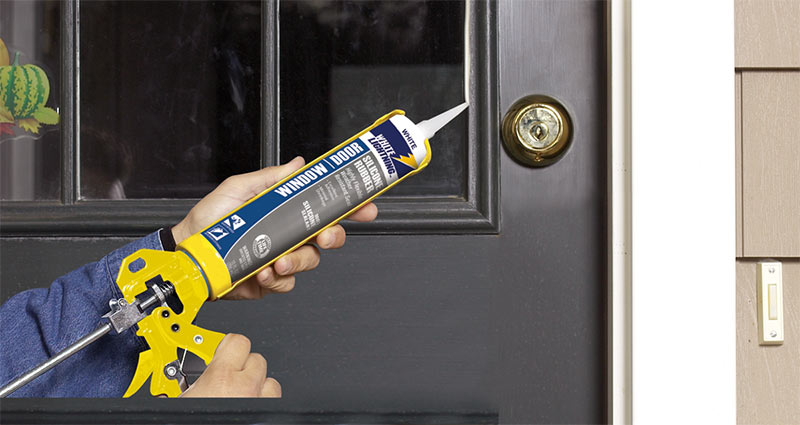
Once that’s applied, use your acoustic caulk to fill any small nooks and crannies that may have been left.
Part III: Fitting Trimming
This section involves sealing up the obvious gaps between the actual frame and the door. Every time a door is installed, it creates a gap between it and the frame – this is to ensure that the door can open and close properly. You can seal this up with weather stripping if you’re on a budget, but this tends to have a short lifespan and is prone to wear.
If you want something a little more robust, then it’s a good idea to invest in adjustable gaskets, which allow you to adjust the seal with a screwdriver. This is useful during the summer when doors are susceptible to warping when the mercury rises.
Remember: Cavities around the door are the most common access points for noise and air. But, on the flip side, it also means they are effective exit points, which means that fitting an effective seal could reduce noise and save you money on your energy bills.
Part IV: Sealing The Base Gap
The final step is to seal the gap from the base of the door to the floor.
Rubber sweeps aren’t an option here as you won’t be able to achieve the appropriate seal. If the seal is tight to the ground, it will be impossible to open, whereas if it isn’t tight enough you’d be unable to achieve the right seal.
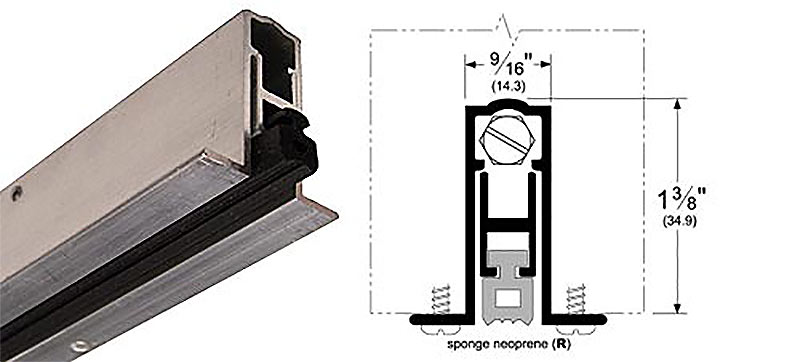
We suggest using an automatic door bottom. This can be equipped flush with the bottom of the door and will seal the gap each time the door is closed and will rise again once the door is opened using a specially designed nut fitted into the door jamb.
Remember: Automatic door bottoms use a hidden mechanism that activates when the door closes and the nut is pushed against the door frame. The device will lower the seal and form a vacuum between the floor and the base of the door.
There are dozens of ways to partially to soundproof a door, but these are only short-term measures. Following our guide and creating a soundproof door, means that you can create an enduring barrier from the everyday interruptions.
Share this article