
As we make it through the chilly winter months here in Perth, we can find ourselves often daydreaming about the beautiful summer ahead. One of the great things about summer is cooling off and relaxing in a pool. But what if you aren’t lucky enough to have a pool in your backyard and still want to indulge in the luxury of a pool over summer? There’s all sorts of temporary solutions you could try, but one particular one that is often neglected is to transform a skip bin into a swimming pool!
This article will help guide you through the DIY process of creating this ingenious summer solution. The first step in the process is to obviously get your hands on a suitably sized skip bin!
Where can you hire a skip bin in Perth?
When it comes to hiring a skip bin in Perth, there are a number of different options you could pursue. Different organisations offer both affordable short and long term skip bin hire solutions, so you can choose the option that suits how long you’re planning on keeping that temporary swimming pool around! You can also choose between different sizes of skip bins, noting that the larger ones will create a bigger swimming area but will cost you more money.
It is also important that you specify exactly where you would like the skip bin to be placed, and create a clear pathway for the professionals to drop the skip bin down for you. This way you can ensure your temporary pool will be in the ideal spot for your home.
I’ve got the skip bin, what’s next?
So now that you’ve obtained your skip bin, you can get to work on creating your affordable swimming pool! The next step will be to clean up the inside of the skip to make sure there are no loose or unnecessary bits of rubble in the skip. You don’t need to make it spotless, but it’s definitely useful to clean the skip bin up a bit before diving in.
For the inside lining of the skip, you’ll need to place a durable black tarp, ensuring the edges are fastly secured on the outside of the container. For this you can use duct tape or any other strong adhesive tape, allowing for the tarp to stay in position and not fly around.This tarp will allow you to fill up the skip without the water simply leaking out the holes on the side. Again, you’ll want to make sure this tarp is nice and clean before securing it inside, as you don’t want to be swimming around in dirty water that has absorbed the dust and debris from the tarp.
Fill Her Up!
Once you have your tarp safely secured on the inside, you can begin to fill the tarp with water. Make sure you have a suitable water source and are filling the skip bin from a garden hose. Depending on the size of your container, this part will take quite a long time, so don’t forget to regularly check on the progress so your pool doesn’t overflow!
Whilst the water is filling the skip, take the time to assess how you are going to enter and exit the pool in a safe manner. Do you have a little portable ladder that can be used, or can you construct some little steps with a few different sturdy household items? Whatever you use, remember that you want this to be as safe and secure as possible.
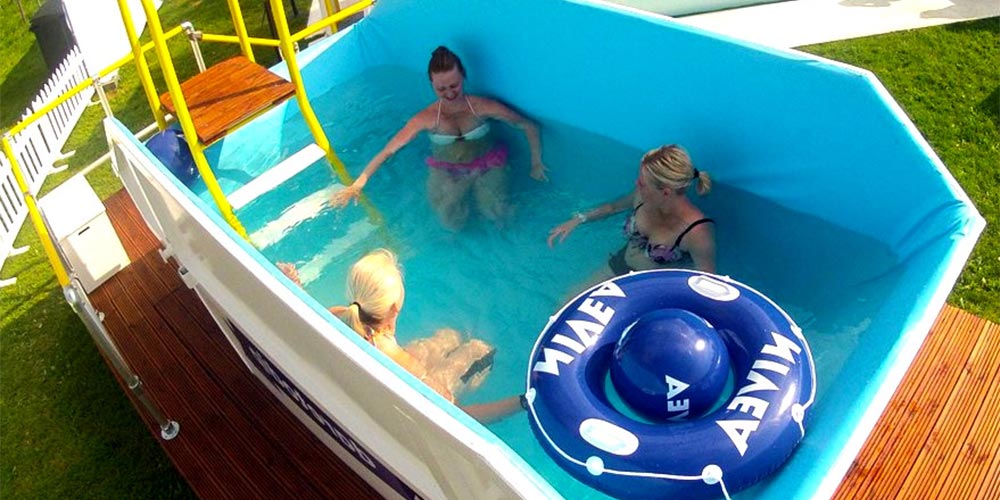
Once the pool is finished filling to an appropriate level, turn off the tap and you’re good to go! The water will evaporate as time progresses, so you may need to keep topping it up to avoid your pool drying up. For now though, soak up those summer vibes and enjoy your new temporary swimming pool!
Image Source: innovativedecor.net
Share this article