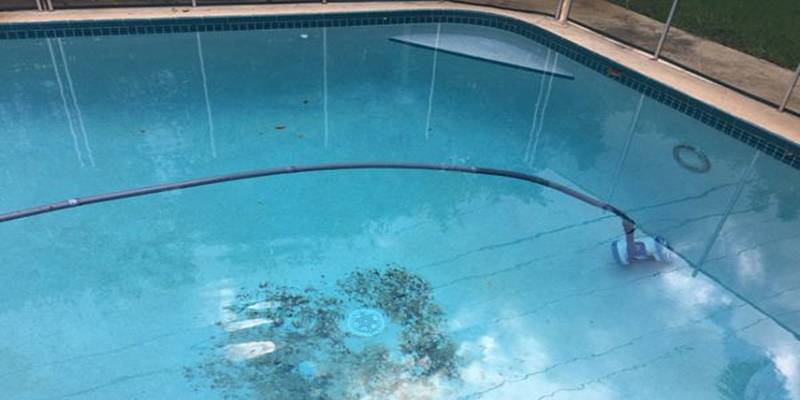
Sometimes, life might get in the way of your regular pool cleaning activities. If neglected for too long, swimming pools can get infested by little spores of algae that grow into a serious menace. Algae can grow in any conducive environment in a matter of hours, days, or weeks.
If you notice the slimy nuisance in its early stages, get rid of it as soon as you can. If you overlook it, it can grow out of control, leaving you to spend a lot of money and time. Unlike the algae that grow in marine waters, none of the three types found in swimming pools is harmful.
Why you should be concerned, however, is because algae can introduce unwanted bacteria and make the water cloudy. This could leave swimmers struggling with their vision underwater. It also stains pool surfaces and eats into them. Absolute Floor Stripping has had to perform complete ceramic tile removal in such cases. If you can’t see more than 8 inches below, you’ll need professional help. However, if you can, roll your sleeves and get to work.
Removing algae can take anywhere from several days to a few weeks. This depends on how much of it is in your pool. Here are tips that will help you remove algae from your swimming pool:
1. Remove debris
Remove as much debris as you can from your pool. This includes floating leaves and algae. You can use your hands or a net to do this. The process takes away potential sources of food for the algae. It also allows the chlorine to work better. Use a telescopic pole attached to a skimmer net to skim through the water surface. Use a deep pool net to remove larger debris that’s at the bottom. If you’re not able to see through the water, move the net through it until you cover the entire pool.
2. Test the pH and cyanuric acid
Testing for pH allows you to keep up with your pool’s chemistry. The recommended pH level is 7.2 and below. pH test kits are available in different sizes and range from cheap strips to fancy kits. If your pH is too high, add a pH decreaser or a gallon of muriatic acid. This helps to fight the cloudiness caused by the algae. Another component that you should test for is cyanuric acid, also referred to as CYA. CYA protects your chlorine from the sun. If it gets lower than 30 ppm, it gives way for the sun to break the Free Chlorine that prevents algae from forming. If it’s too high, you’ll need to remove and replace all the pool water with fresh water.
3. Shock the pool
Shocking your swimming pool consists of adding large amounts of chlorine. After adjusting the pH of the water to 7.2, get about 25 pounds of granular chlorine. This will be enough for regular adjustments and will save you money. You can also opt for liquid chlorine but, never use the two together because liquid chlorine explodes when it gets in contact with chlorine granules and tablets. Depending on the size of your pool, you’ll be required to determine the amount of chlorine to use. Use two or three times the regular amount for a single shock. Allow your pump and filters to run until the pool becomes clear.
4. Brush the pool
Once you add a significant amount of chlorine, wait for 24 hours. There’ll be a drastic difference, but you’ll still have some cloudiness due to large amounts of dead algae. Grab a brush and start scrubbing the ladders, steps, and walls to remove any stuck algae. Keep the pump and filter running to filter it all out. Use a robotic or manual pool vacuum to remove algae that is stuck at the bottom of the pool. Do this until the water is crystal clear. Make sure you clean your vacuum filter bags and pool filter severally as you shock the pool.
5. Test for chlorine loss
After thoroughly cleaning and brushing the pool, carry out an overnight chlorine loss test (OCLT) to find out if there’s any algae left. Just like the sun, algae also depletes the chlorine in your pool. Test for free chlorine after sunset and in the morning again before sunrise. If the chlorine levels are low, the algae is still present. You’ll need to shock your pool again the next day. Repeat the chlorine loss test until the algae is completely gone.
6. Regular maintenance
After going through all that trouble to get rid of the menace, it’s only fair that you keep the pool clean and algae free. Perform routine tests for pH, cyanuric acid, alkalines, and free chlorine levels. Do this every day in the weeks following the massive cleanup. Afterwards, you can do it at least once a week. Consider using good chlorinating setups to keep chlorine at the right level. This will keep away spores and particles that are likely to lead to an algal bloom.
