
A wooden deck is a beautiful addition to a home, but it does require maintenance to keep it looking its best and lasting as long as possible.
Part of that maintenance is a regular restoration, which includes repair and cleaning, removing discoloration, and adding a finish.
Restoring an outdoor deck is a simple process that can be done by a homeowner, as long as you have the knowledge.
This guide will provide you with the five steps to follow to get your deck looking like new again.
Step 1: Inspect & Repair
Before we get going, let’s make sure the deck is in solid shape.
Take a walk on and around the deck to check for loose wood, rough spots, large splinters, rot, and damaged pieces.
Sand down any rough spots, remove splinters, and replace wood pieces that need to go. Pay special attention to the joints and posts and make sure the entire deck is structurally sound before moving forward.
To check for rot, all you need is a screwdriver.
Dig the screwdriver into the wood. If the tip of the screwdriver easily sinks in, the wood is rotting and will need to be replaced.
Step 2: Remove Stains
It’s time to clean.
Ideally, a deck should be cleaned once a year. If you’ve kept up with the maintenance, this step won’t be difficult (but will take a bit of elbow grease).
To get a sparkly clean deck, simply head to your local home improvement outlet and pick up a deck treatment. Some will need to be brushed on, others you’ll spray on using your garden hose and the attached applicator.
Once the product has been applied, grab a stiff bristle brush to rub the product into the wood.
For tough stains, try a pressure washer. This should remove anything that didn’t easily come up using the cleaner.
Once the stains are removed, rinse thoroughly and let dry before moving onto the next step.
Step 3: Restore Coloring
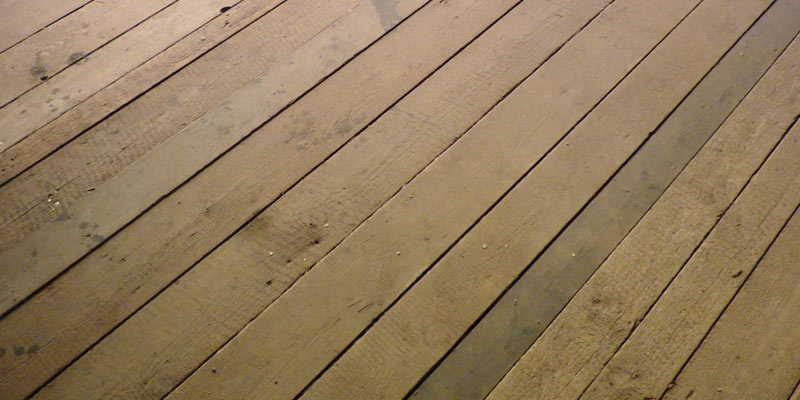
Sun, water, wind…
The elements can take their toll on a wooden deck overtime, turning a once beautifully stained wood dull and grey.
Remove the grey color with an oxalic-acid based product, also known as “deck brighteners.” The acid will remove the discoloration and tannins that have accumulated on the wood over time.
Apply the brightener with a rag, but make sure to rinse and dry well before moving onto the next step.
Step 4: Protect & Finish
Now it’s time to have some fun and bring back color and beauty to your deck!
Pick a stain that is transparent but still provides a bit of pigment. The pigment will help restore the color to the wood. Unlike paint, the stain will soak into the wood and won’t chip or peel in the future.
The easiest and most efficient way to apply a stain is with a spray-on application. Spraying on a stain will be quicker and get more stain into the wood than rolling or brushing.
Step 5: Stick to a Schedule
To keep your deck looking its best, it’s important to restore an outdoor deck annually. Create a maintenance schedule and keep to it so damage remains minimal.
That’s it! Your deck is now restored and ready to brave the weather for the coming year. Make sure to keep up with it annually to prolong the life of the deck and keep it looking like new.
Share this article