
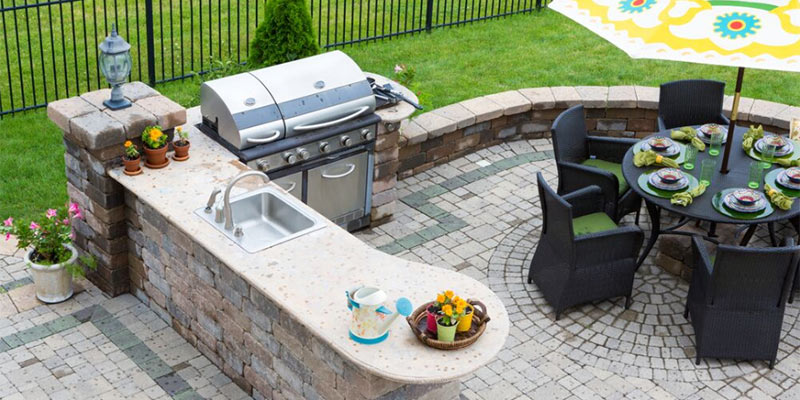
Adding an outdoor kitchen can improve the overall appearance and value of your patio. As a matter of fact, anybody wants a grill on their deck or a gas barbeque unit installed into a tiled countertop. And having said it, an outdoor kitchen can provide you all of these needs from plenty of storage options down to convenient cooking. However, you also need the amenity of an outdoor sink for washing purposes. To start building up your outdoor kitchen, here are some essential ways to help set up your plumbing system the easy way.
Link to main water pipes
Get started by linking your outdoor kitchen’s supply to main water pipes. Prepare all the pipes and begin the work by holding them in place with two-hole clamps.
- Unless you’re using hot water, you’re not required to provide insulation for your pipes. On one hand, the position of your pipes should be in slope to ease drainage.
- Also, have the pipes buried underground so it doesn’t affect the pleasing look of the entire area. For better end results, finish the work by installing drain plugs and shut off valves at the low portion of the piping.
Run the pipe outside
Once you finish the piping, it may be about time to run the pipe towards your outdoor kitchen.
- Of course, your plumbing system will be more efficient if the pipe is placed in an area where it should come through the bottom of the cabinet.
- For the connection of pipes to the plumbing located in the sink, it’s important to utilize thread adapters and make sure they’re tightly sealed using the plumber’s tape.
Construct a drainage system
When building a drainage system, you need to have a PVC drainpipe for the sink trap. Don’t forget to put an adapter for the connection of the said pipe to the sink trap. If you consider having a line of natural gas, be sure to buy a pipe intended for outdoor use only.
- Moreover, part of creating a drainage system is to dig a drywell for the drainpipe. Take time to do the digging ten feet from the deck and don’t forget to slope away from the house to avoid water flow in the wrong direction.
- To complete your drainage system, put a drain bucket inside the hole and drill a space for the piping. Once the piping is placed in a way it protrudes a few inches into the bowl, fill in the bucket with coarse gravel. By doing this, you’re helping the water to drain properly.
Gear up your piping
Having an outdoor kitchen may also mean winterizing your piping. You also need to set up your plumbing system in a way that it’s protected from serious weather conditions like winter. You just need to use an ejector pump and install pipes below the freezer level. Remember that ejector pump is helpful in removing water before the winter strikes.
Put a bucket underneath the sink
If you choose not to install a drainage system for your outdoor kitchen, you can always have the option of placing a bucket underneath the sink. By doing this, placing food scraps down the sink will no longer be a problem. Even if your outdoor kitchen doesn’t have a garbage disposal, the bucket below the sink can help prevent the possible plugging up of the entire plumbing system.
Final Words
When installing an outdoor kitchen, it’s important to familiarize the specifics of outdoor plumbing. Without thorough planning and preparation, you may not know where to start. If you want to accomplish this project right, simply follow the essential tips mentioned above and you’ll definitely use your outdoor kitchen to your advantage. Thus if you need any assistance in this kind of outdoor installation, hire the best plumbing experts like the ones at gmplumbingcorporation.com and give them a call right away.
Share this article