
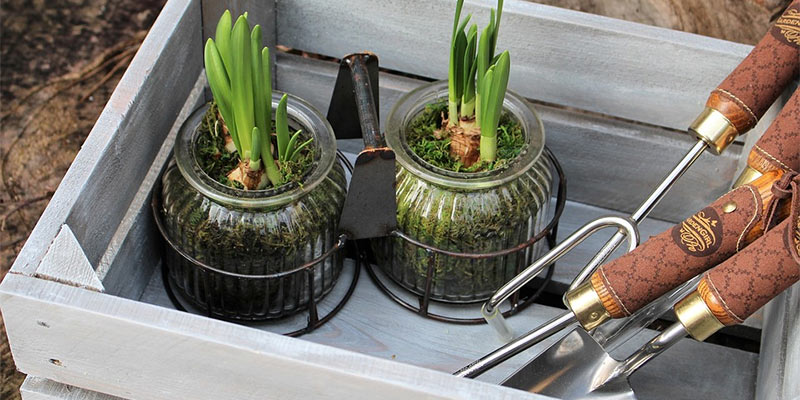
Ever wanted to plant flowers or vegetables in your backyard but didn’t know where to start from or how to go about getting the supplies you need? Well, there is an easier way. You can use a garden box. It is super convenient and you can place it wherever you want within your compound. Want to know how to build one? Here are 5 tips to guide you:
1. Determine The Size Of The Box
To build a good garden box with wood, you need to first decide on the size of the box. You will determine how small or big you want the garden box to be based on the number of plants you want to have planted in the box as well as the area where you want to place the box after building it.
2. Determine The Type Of Wood To Use
There are different types of wood available but for planting purposes, you need to use the right type to build your gardening box with. Cedar or untreated wood are good options since they hold up well against natural elements that they will be exposed to. In addition to that, these types of wood are easy to work with.
Pressure treated lumber has chemicals in it that may kill your plants when you plant in a box made of them. It is not advisable to use this type of wood. A better much safer alternative would be to use ACQ treated wood as there are no toxic chemicals present.
3. Cut Your Wood To The Right Sizes And Prepare To Assemble
Measure out every side of your wood using a measuring tape to the right length and width that you desire. Mark out the right sizes to cut and then using a standard handsaw or electric saw, cut out the wooden pieces as per your measurements.
Ensure that your cuts are proportional to each other and that the pieces on each opposite side are of the same length and width to achieve a uniform shaped garden box.
4. Create Holes And Drill In The Right Nails
Once you’ve cut your wood to the desired sizes, get a drill and make holes on the wood. You can make these holes at the intersections where the wooden pieces meet to create space for the pin nails that will hold the wooden pieces together.
Once the holes are made, you’ll need to fit in the pin nails. It will be quite hectic to use a screwdriver or hammer to drive them in. There is a better power tool for this job. There are pin nailer drills that do the job faster and better. Drill in your nails using the pin nailer drill and ensure that the wooden pieces firmly hold together on all sides.
5. Run Some Finishing Touches
Ensure that the garden box is also covered at the bottom with wood. Drill in some drainage holes at the bottom to allow your plants’ roots to develop well. Add a vinyl screen or nylon inside the garden box to protect your wood. Sand out any rough edges then paint the garden box. And with that, your box is ready for planting.
Conclusion
Building a garden box is easy and you can do it yourself and with the help of a pin nailer drill, your work becomes much easier. Need to get one? Take a look at some of the best pin nailers by Tools First.
Share this article