

We’ve all had some experience of attempting DIY in some form or another; some attempts are perhaps more successful than others. DIY can be a tough and frustrating undertaking, and if you’re not a naturally crafty person, delving into the toolbox is enough to cause a bout of anxiety.
In this post, we intend to investigate how you can make the most of your DIY talents, however limited, to install your own blinds.
Recess or Exact – Where Should You Install Them?
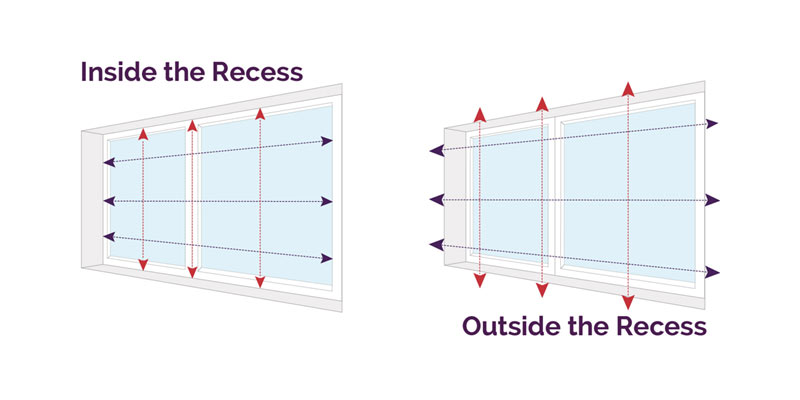
You’ll first need to decide what kind of blind you like and where you’ll fit them – you probably have an idea about this already. Usually, the only real decision to make is whether you fit inside or outside the recess, which is usually pretty simple, but sometimes factors outside your control make the decision for you.
Inside the recess is normally advisable – they look more appealing that way. But, sometimes this is not always possible due to a lack of space or some kind of fitting that gets in the way.
Recess Or Exact – Fitting Brackets Inside the Recess
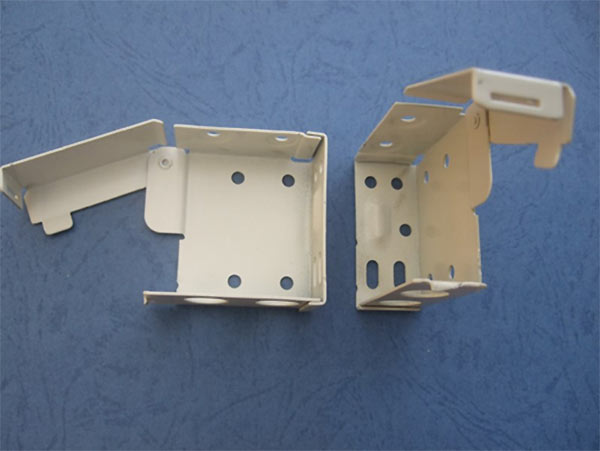
Blinds generally need a flat surface in order to affix the bracket, and most are dynamic enough that you can choose which angle you can attach them at. You need to consider where you’ll fit the brackets as the dynamism is limited.
All blinds will come with the brackets, and these can be top-fixed or face-fixed, a few will be side-fixed too.
Recess Or Exact – Measure the Recess
Most recesses are deep enough to attach the blinds inside, but some can, on occasion, be a little big shallower, so be sure to measure up first.
How far the blind protrudes will determine whether you’re able to fit the blind in the recess or not, this is known as headrail depth.
Recess Or Exact – Potential Obstructions
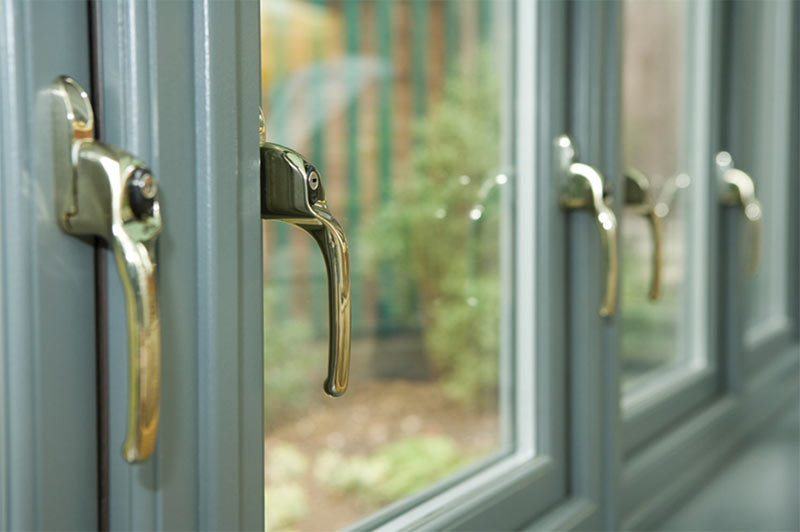
It’s not just structural hindrances that can limit your recess depth. Obstructions on the windows themselves such as handles and vents need to be considered.
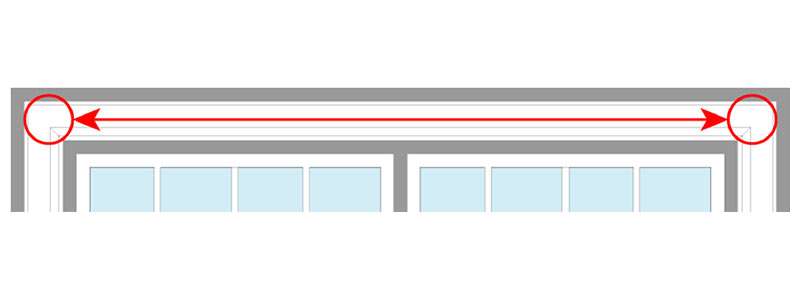
Recess Or Exact – Sash Windows
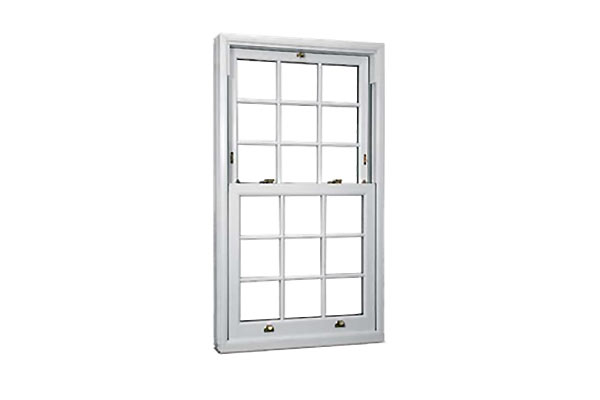
Sash window designs can really contrast, some could have fewer window panels, or some, as in the example above, can contain quite a few.
Sash windows aren’t normally appropriate for installation inside the recess, because the ornate framing makes any prolonged flat surface seldom. The design of sash windows means that the lower half opens vertically over the top portion of the window. This means that any free space is filled when the window is slid open.
Really the only thing to do is attach brackets to the edges of the window, in between any patterning, and then fit any brackets to that.
Measuring
Before measuring anything, you’ll need the following equipment:
- Tape Measure
- Pencil: for marking up measurements.
- Masking Tape: to stick down and write on rather than marking the walls.
- Spirit Level: this isn’t necessary unless you measure up for shutters.
And you’ll need to bear in mind the following things:
Measuring – Use a Metal Tape Measure
Fabric and plastic tapes aren’t really appropriate for this task. While they don’t stretch out as far as the metal ones, they have a proclivity to warp as they are stretched which could throw off your measurements.
Measuring – Shutters & Wooden Blinds
If you’re opting for wooden blinds, it’s probably best to special order. The pelmet of a wood blind is created separately, so you’d need a pelmet to match the width at the top of the recess, which means there won’t be a gap either side.
If you’d like to order shutters and you don’t have a flat surface all the way around the perimeter of the recess, it means either filling gaps or removing obstacles inside the recess. Which could potentially mean redecorating and plastering.
Installation
Each type of blind has a slightly different installation process, so below are some general tips and pieces of equipment that you’ll need to install your blinds.
- A Drill w/Hammer Setting: Battery operated drills often come in as the more expensive option, so if you prefer to save then opt for a plug-in drill. Hammer settings are required to drill through brickwork and masonry, so this must be utilised rather than the rotary setting.
- Philips Screwdriver: Or the relevant screwdrivers bits for your drill.
- Masking Tape: Adhesive tape helps to protect the paintwork when you’re marking out your drilling points.
- Hammer
Installation – Check Your Product

As soon as you receive your order, it’s important to unpack it and ensure you’ve been sent precisely what you’ve ordered. If there’s even a slight mistake in the measurements or the manufacturing process, you’ll want to know this as soon as possible and not half way through installation.
Once you’ve completed all of your due diligence, you’ll find that the installation process will become much more comfortable and everything will run much more smoothly, with limited frustration.
Share this article